Ever wondered if you could stream a big event without any tech hiccups? It might sound tricky at first, but with a few simple steps, you can get it running smoothly. Imagine setting up your camera, checking your mic, and testing your internet speed – like fitting together pieces of a fun puzzle. This guide walks you through arranging your gear and planning your broadcast so your viewers stay hooked from start to finish. Ready to see how easy it really is to share live moments?
Live Stream Events: A Step-by-Step Introduction

Getting ready for a live stream is all about solid planning. First off, decide what you're aiming for, whether it's boosting your brand, building a community, or making money. For instance, you might set a goal like "hitting 1,000 live viewers in your first stream." Then, pick a date, sketch out your content, and choose the right type of platform (like OTT, RTMP, or HLS) that fits your needs.
Next, gather your gear: a good camera, a trusty encoder, and an external mic that cuts down on background noise. It sounds simple, but a quick test run goes a long way. Make sure all your equipment plays well together. And don’t skip checking that your internet upload speed is at least 5 Mbps so your stream stays crisp and clear.
Make a checklist that covers every tiny detail, from tech stuff to creative touches. Here's a fun tidbit: research shows that 80% of viewers lean towards live videos over blog posts, and 82% prefer them to social media posts. This fun fact reminds us just how important a well-planned stream is. With clear goals and the right setup, you'll capture your audience and keep them watching from start to finish.
Event Broadcast Setup: Essential Hardware and Software for Live Streaming Events
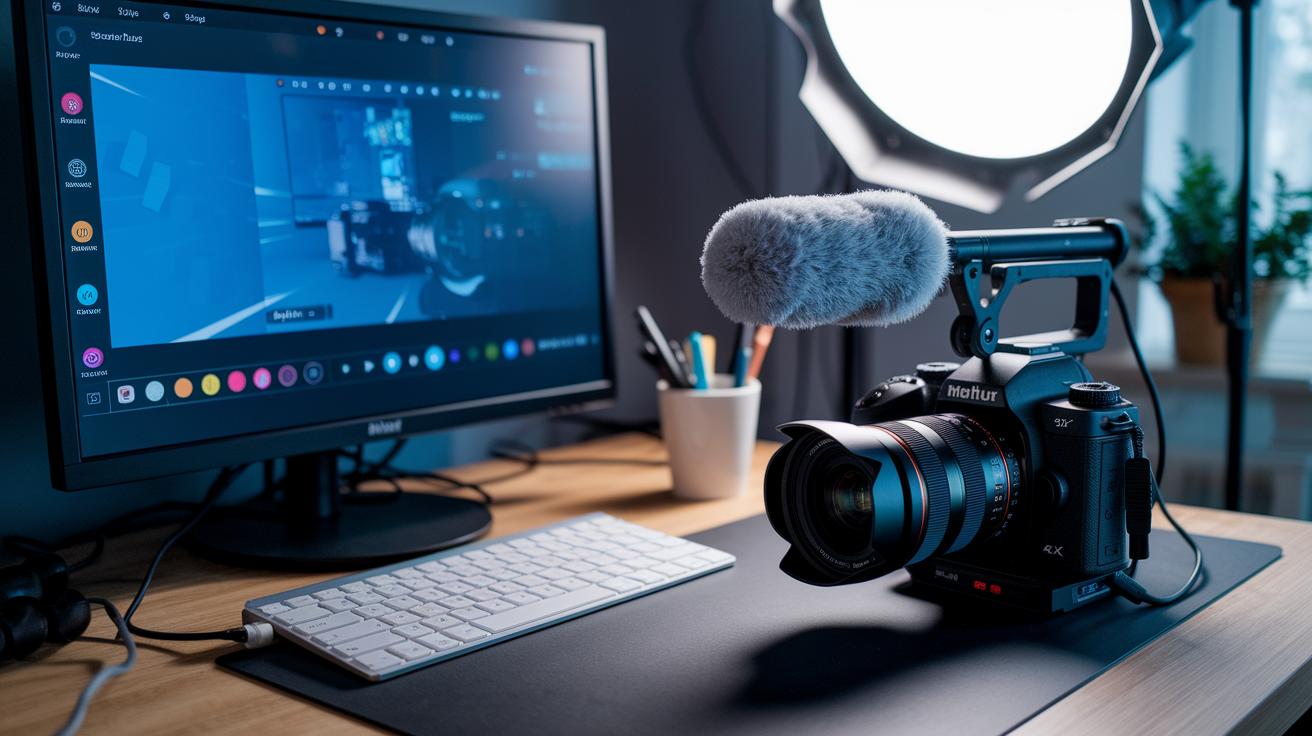
Start by choosing a professional camera that supports HD or 4K. A good camera keeps your visuals clear and sharp, just like the high-quality shots you see in a movie. You might even say, "I picked my 4K camera to catch every exciting detail like a real film set."
Next, add a capture card to bring your video feed into your computer. This handy device makes sure your live footage transfers smoothly, which is really important for any event.
Don’t forget about sound. Use an external noise-cancelling microphone to get clear audio without any pesky background noise. When you're chatting with your team, you can suggest, "Try an XLR mic for better sound quality compared to USB, especially when it’s noisy around."
Invest in a three-point lighting kit to keep your stream nicely lit. Good lighting not only sets the right mood but also makes sure your audience stays engaged, much like the bright stage lights at a live concert.
Finally, pick broadcast software that lets you mix multiple sources, arrange custom layouts, and even stream in 4K. Some software has built-in encoding, which takes a load off your mind. You might say, "I use software that mixes several camera feeds, keeping the broadcast smooth and fun."
When setting up your gear, compare GPU and CPU encoding to see which one fits your needs best. A solid mix of reliable hardware and smart software choices means your live event will run as smoothly as a well-rehearsed performance.
Network Requirements and Connectivity Tips for Live Event Feeds

Keeping your live feed steady starts with a solid internet connection. First, check that your upload speed meets the standard: around 5 Mbps for 720p and at least 10 Mbps for 1080p. I once switched from Wi-Fi to a wired Ethernet cable, and wow, the buffering almost disappeared. Then, try adding a backup hotspot with 4G or 5G so your stream keeps going when the main connection drops.
Keep an eye on your bitrate, too. Using about 3 to 6 Mbps for 1080p gives you clear video without overloading your connection. You can also fine-tune your encoder and adjust the RTMP buffer to cut down on any delays.
Here’s a simple network checklist to follow:
- Make sure your connection hits the minimum upload speed.
- Switch from a wireless connection to a wired one.
- Turn on a backup hotspot.
- Adjust your bitrate settings to balance video quality and speed.
And always run a full test to catch any issues early so your stream stays smooth.
Streaming Platform Comparison and Configuration for Live Stream Events
Picking a streaming platform means looking at what they offer, how you can embed them, and how they hold up. YouTube Live shines with cool money-making tools like ads and Super Chat, while Facebook Live blends perfectly with your social channels for strong viewer interaction. Twitch builds a fun, active community with its chat feature, and Vimeo Pro is loved for its steady performance and easy-to-customize player. I once set up my stream on YouTube Live, scheduled it, and even put the player on my blog to catch a bigger crowd.
When you set up your stream, double-check that you have the right RTMP ingest URLs, key, and stream label. These small details make sure your live show runs without hiccups.
| Platform | Embed Options | Monetization | Reliability |
|---|---|---|---|
| YouTube Live | Easy | Ads, Super Chat | High |
| Facebook Live | Integrated | Stars, Ads | Consistent |
You can also use multistreaming tools like Restream or StreamYard to broadcast on LinkedIn and Twitter at the same time. This way, you hit all the major spots, build a larger audience, and boost your viewer engagement.
Performing Test Runs and Troubleshooting Broadcast Issues During Live Stream Events
Before you go live, run a full rehearsal. Check your camera angles, make sure the sound and video match up, test the lighting, and run bitrate tests. For instance, set up your camera, say something like "The lighting brings out every detail," and then test the sound to catch any echo or lag.
Sometimes you might see glitches like dropped frames, buffering, or echoing audio. If you notice these issues, try tweaking your encoder settings or lowering the bitrate. It also helps to have a backup encoder ready. Testing extra cables and connecting to a secondary internet source is a smart move in case your main connection fails.
Using a "stream starting soon" screen gives you a little extra time to fix any unexpected problems.
Before going live, remember to:
- Check that your camera angles are right and the sound is in sync
- Confirm the audio is clear and the lighting sets the right mood
- Test backup equipment to be sure you’re covered
This complete test run helps you catch any little hiccups and keeps your feed smooth, so your live broadcast stays fun and engaging.
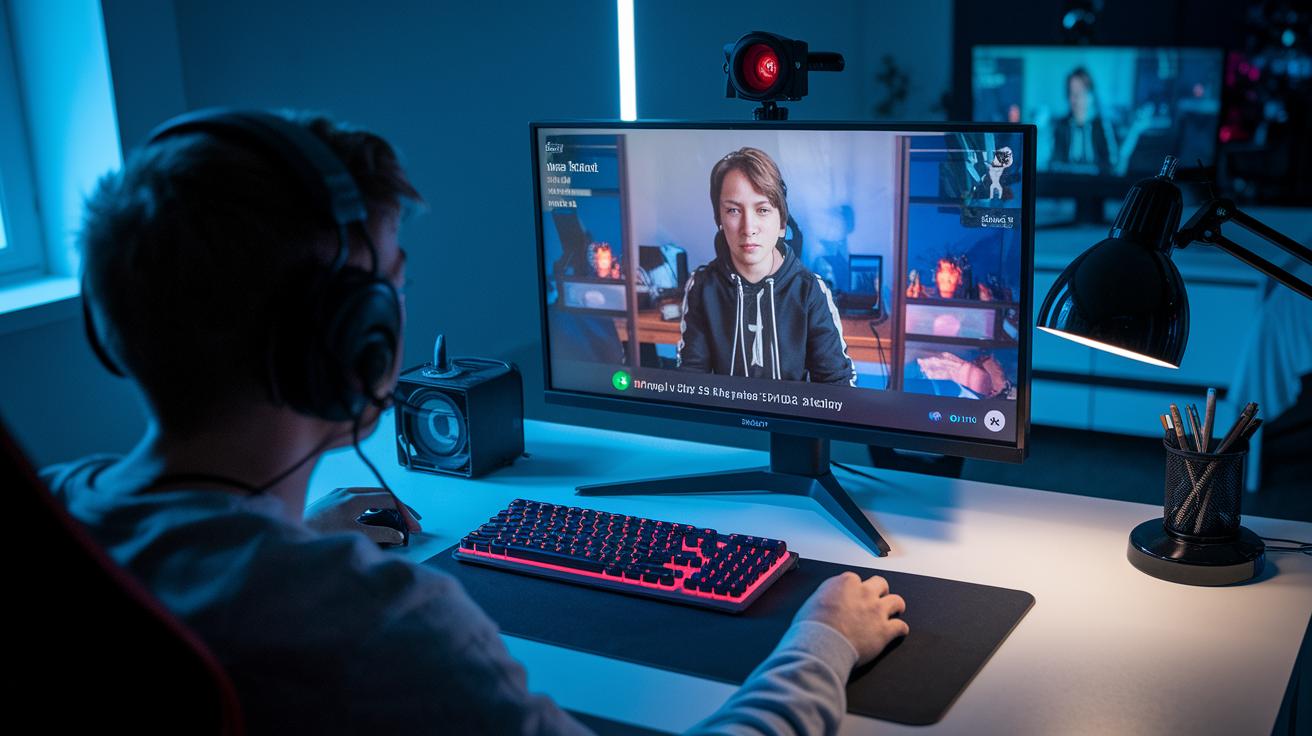
Engaging Audiences and Interactive Elements in Live Stream Events
Using cool interactive tools can turn your live stream into an easy-going chat among friends. You can add live chat, polls, and simple Q&A boxes so viewers can share thoughts right away. Have you ever felt that buzz when someone types a comment, making you feel like you’re really part of the show?
Try mixing in trivia questions or pop-up messages during slower moments to keep the energy high. A little prompt like "Vote now!" or "Ask your question here!" makes it fun and keeps you posted on how everyone’s doing in real time.
For hybrid events, blend on-stage energy with online tools to really connect everyone. It’s like watching a live concert where everyone’s in on the magic.
- Use live chat for instant reactions
- Add polls for quick, spontaneous feedback
- Include Q&A boxes for back-and-forth conversations
Post-Event Recording, Analytics, and Monetization for Live Stream Events
Once your event is live, be sure to save your video on demand file so people who miss it can catch up later. You can also create short, fun highlight reels of the best moments. This simple step with clear titles and keywords helps folks find your video online.
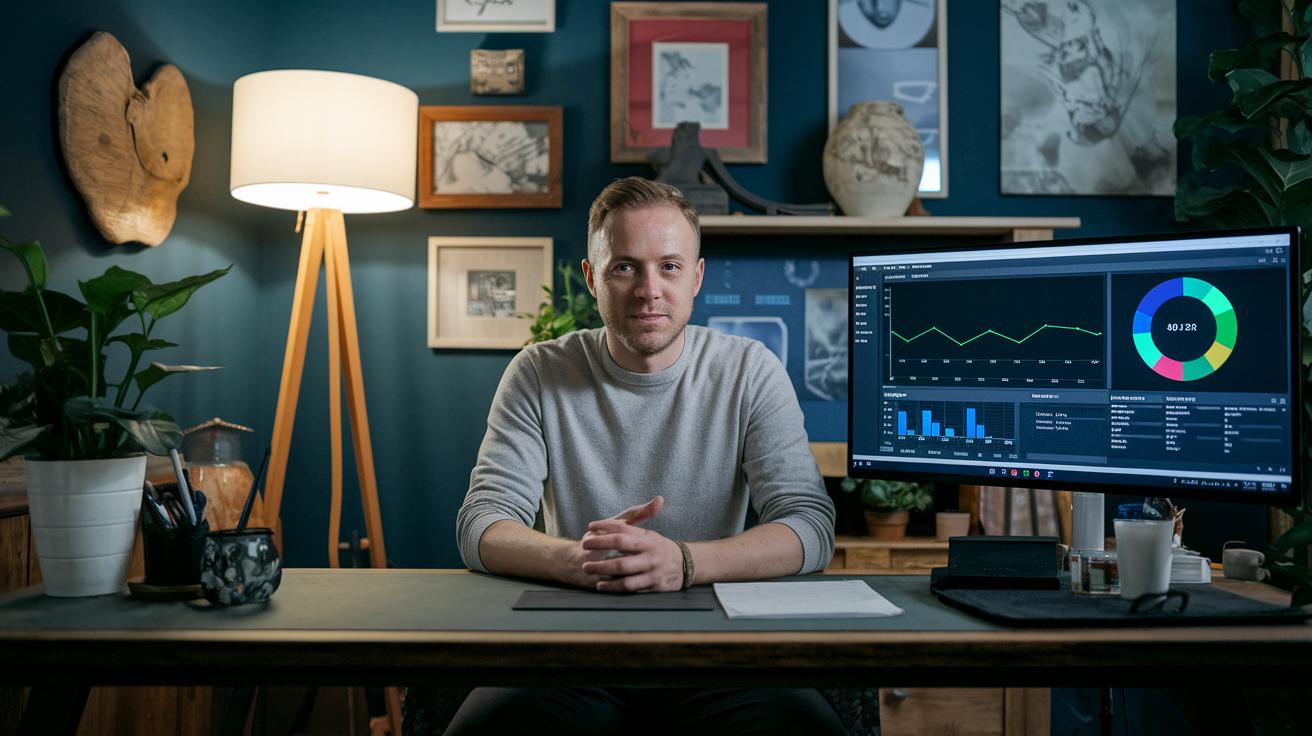
Next, take a look at your analytics dashboard. It shows important numbers like viewer count, average watch time, where viewers leave, and chat activity. For example, you might notice that viewers started leaving around the 15-minute mark and think about changing the pacing next time.
There are plenty of ways to earn money from your live stream. You could try ticket sales, subscriptions, or even a pay-per-view system. You might also offer special content behind a paywall. And don’t forget to follow rules when using copyrighted music or clips. Keeping an eye on your numbers and earnings will help you plan even better events in the future.
Final Words
In the action, you explored every stage from setting up equipment and solid connectivity to choosing the best streaming platform and troubleshooting issues. We covered simple steps for engaging your viewers and maximizing post-event content. You also got practical tips on handling test runs and monitoring live feeds. This guide gives clear clues on how to live stream events smoothly, keeping both tech and audience spirit in sync. Enjoy your next broadcast and keep the energy high!
FAQ
How to live stream an event on YouTube?
Live streaming an event on YouTube means using YouTube’s built-in live feature with an encoder and solid internet. Set your schedule, verify your gear, and check your settings before going live.
How to live stream an event for free?
Live streaming an event for free is done by using browser-based platforms like Restream Studio. With a smartphone or PC and stable network, you can stream without extra cost while reaching your audience.
How to live stream events on phone?
Live streaming events on a phone involves using a mobile app offered by your platform. Simply tap to go live, check your audio and network, and start broadcasting straight from your device.
What is the easiest way to live stream an event?
The easiest way to live stream an event is to use user-friendly streaming apps on social sites. This process requires minimal gear—often just a smartphone and strong internet—for a quick setup.
How to livestream an event on Facebook?
Livestreaming an event on Facebook starts with the platform’s in-app live feature. Choose your audience, check your network, and tap the live button to start interacting with viewers in real time.
How to live stream an event on Zoom?
Live streaming an event on Zoom means enabling the live stream option in settings and possibly linking an encoder. This method expands your audience beyond meeting participants with a smooth broadcast.
How to watch live stream on YouTube?
Watching a live stream on YouTube involves heading to the live section or subscribing to channels that broadcast events. You also get alerts when your chosen creators start their live shows.
What is the best way to stream live events?
The best way to stream live events is to combine a reliable platform with clear pre-event planning and stable internet. This mix creates a smooth, engaging broadcast that keeps your viewers connected.
How to create a live streaming event?
Creating a live streaming event means planning your content, choosing the right platform, setting up your equipment, and running a quick test stream. This roadmap ensures a seamless broadcast experience.
How do I start live streaming?
Starting live streaming involves choosing your platform, configuring your gear, and testing your network. Once you confirm everything is set, hit the live button to share your event with your audience.
What equipment do you need to stream an event?
Streaming an event requires key gear like a camera, microphone, lighting, and an encoder, plus a reliable internet connection. Quality equipment and a pre-broadcast test help maintain a smooth stream.